


Ever wonder how a spotlight can perfectly highlight a performer on stage or how a downlight in your living room can create such a cozy ambiance?
It all comes down to understanding how light spreads and focuses—which is where throw distance, coverage area, and especially FWHM (Full Width Half Maximum) measurements come into play.
These concepts help you figure out exactly how a particular lighting fixture will illuminate a space. In simpler terms, when someone talks about “beam angles,” they’re describing the shape and size of the area a light covers.
A narrow beam angle focuses light into a tight spot—ideal for accent lighting—while a wider angle creates a broad wash of light, perfect for general illumination.

By getting a handle on these angles and the distances involved, you can take better control of your lighting design, whether you’re illuminating a gallery wall at home or setting up a stage show.
In the coming sections, we’ll dig deeper into key terminology, go step-by-step through basic and advanced calculations, and explain how you can use these methods in real-world scenarios.
Whether you’re a lighting pro or just curious about how spotlights work, this guide will help you shine some light—literally—on beam angles.
Key Terminology & Concepts
Understanding beam angles starts with getting comfortable with a few important terms. Each plays a unique role in figuring out how light behaves and how it will illuminate your space:

Beam Angle (θ)
The beam angle describes the width of light spread from the source. A smaller angle creates a tight, focused beam, ideal for spotlighting specific areas, while a larger angle provides broader coverage, perfect for illuminating larger spaces.
Throw Distance (T)
Throw distance refers to the distance between the light fixture and the surface it illuminates. It is critical for calculating the size of the illuminated spot, as longer throw distances typically result in larger illuminated areas.
Beam Diameter (O)
The beam diameter represents the size of the light circle (or spot) where it hits a surface. This measurement determines the width of coverage for the light at a specific distance, which is essential for effective lighting design.
FWHM (Full Width Half Maximum)
FWHM is a practical method for measuring a light’s beam angle. Instead of considering the full extent of light spread, FWHM focuses on the area where light intensity decreases to 50% of its maximum brightness. This provides a more realistic and actionable measure of the light’s effective spread.
Basic Beam Angle Calculations
When it comes to basic math for beam angles, it’s simpler than you might imagine. By using some straightforward trigonometry—or an online beam angle calculator—you can estimate how large the light’s coverage (the beam diameter) will be at any given throw distance.

The idea is this: at a specific distance, a smaller beam angle concentrates light into a tighter circle, while a larger angle spreads that same light over a wider area. The formula essentially looks at half of the beam angle to figure out how wide the beam grows as it travels outward. Keep in mind that the same principle works in feet or meters—just be consistent with your units.
Practical Example
If you have a 10° beam at 25 ft, the resulting spot size is around 4.37 ft across. Plugging in different beam angles or distances will give you a quick understanding of what kind of coverage you can expect.
So, whether you’re installing a single downlight or planning a series of spotlights, simple calculations (or a handy online tool) will help you pinpoint the perfect beam diameter for your lighting design.
Advanced Calculations & Real-World Geometry
When your light fixture isn’t aimed straight down or directly at a wall, the math gets a bit trickier because the beam footprint shifts from a neat circle to an ellipse. This happens when you introduce a focus angle (f)—the tilt from vertical—and also consider the source height (H) above the target and the source distance (D) horizontally.
Accounting for Beam Depth and Width
Instead of one circular beam diameter, you may need to calculate beam width (X) and beam depth (Y) separately. These dimensions describe the elliptical patch of light on the surface.

While the same trigonometric principles apply, you’ll be calculating two angles—or breaking down your single beam angle into horizontal and vertical components—to figure out the shape of the lit area.
Why It Matters?
Getting these advanced details right can make a huge difference in architectural lighting, stage designs, and any situation where the fixture is mounted at an angle.
By considering both the horizontal and vertical distances, as well as the fixture’s tilt, you’ll get a much clearer idea of how your light will actually appear in real-world conditions.
Factors Beyond Beam Angle
It’s important to remember that beam angle is just one piece of the lighting puzzle. Even if a fixture has the perfect angle for your space, lumens and lux—which indicate total light output and actual light intensity on a surface—play a huge role in how bright that space actually appears. A light can have a wide coverage area but still feel dim if it doesn’t emit enough lumens.

Wattage vs. Coverage
Many people also look at wattage to gauge brightness, but wattage simply tells you how much power the fixture consumes. Two fixtures with the same beam angle can produce very different brightness levels if one has significantly higher wattage paired with efficient LED technology.
So while a 10W LED might create a decent spot, a 100W LED with the same beam angle can illuminate a much larger space more effectively.
Overlap and Layout
For most lighting projects—homes, offices, or stages—you’ll likely need multiple fixtures to achieve balanced illumination. The spaces between beams matter. By overlapping lights, you reduce dark spots, create smoother transitions, and ensure your area is evenly lit.
Whether you’re planning a cozy living room or a large retail showroom, thinking about beam overlaps and overall layout makes all the difference in achieving a comfortable, functional environment.
Practical Examples & Fixture Comparisons
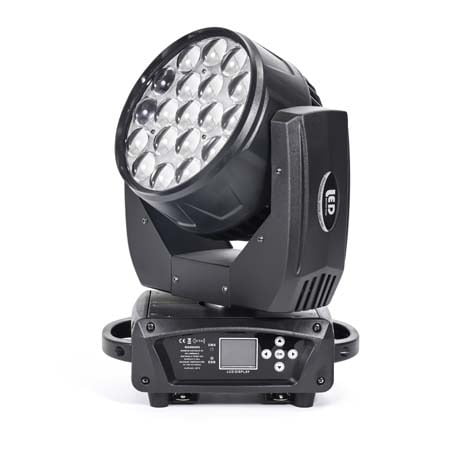
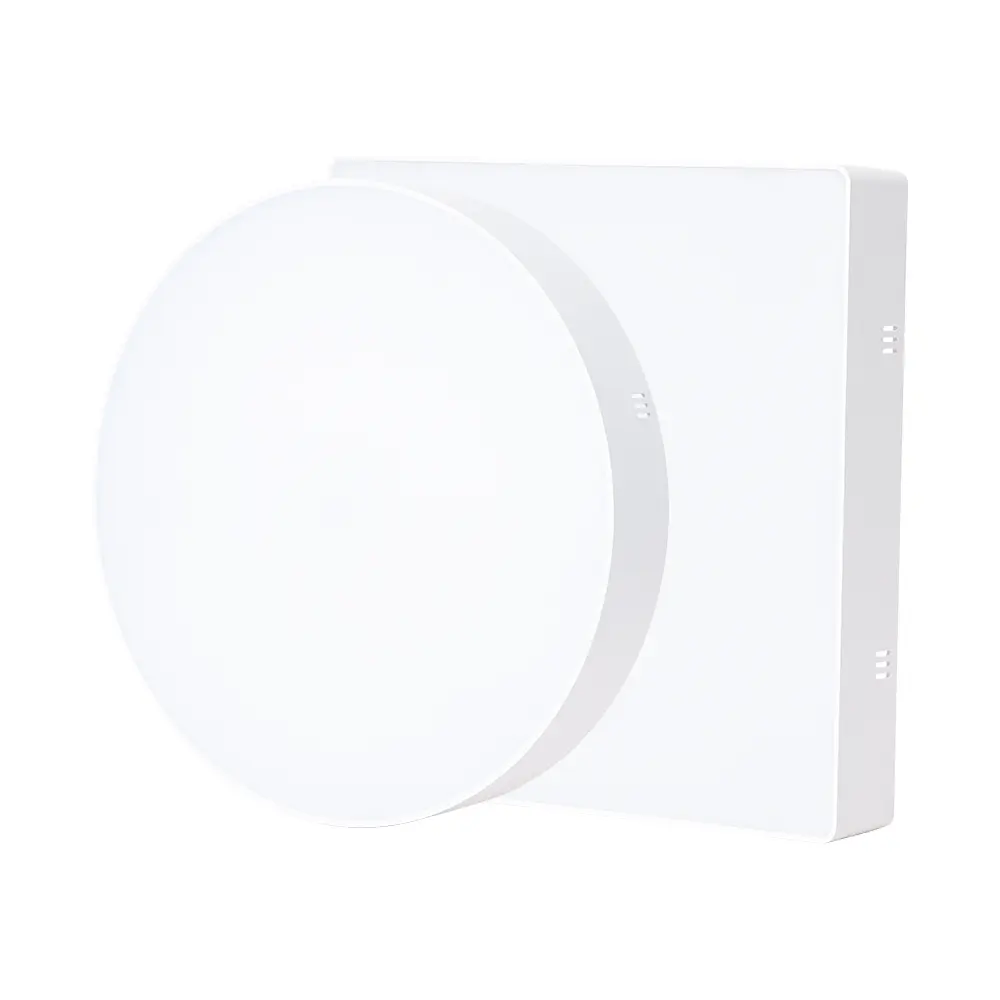
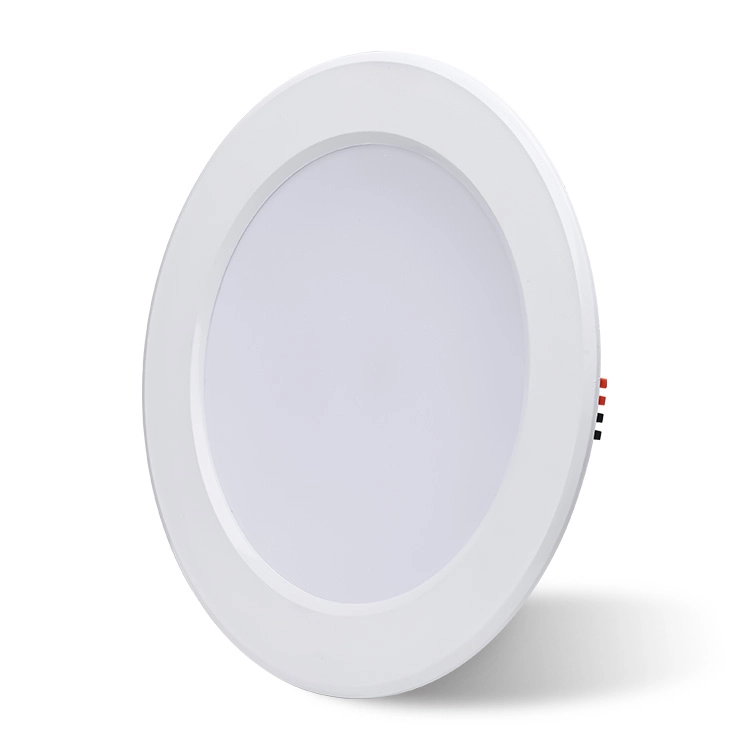
Different lighting fixtures come with varying beam angles, and each type has a specific use. For instance, a GU10 spotlight often sits around 35°, suitable for accenting artwork or architectural details. An MR16 might run closer to 60°, offering a broader wash of light—helpful in smaller rooms or for task lighting.

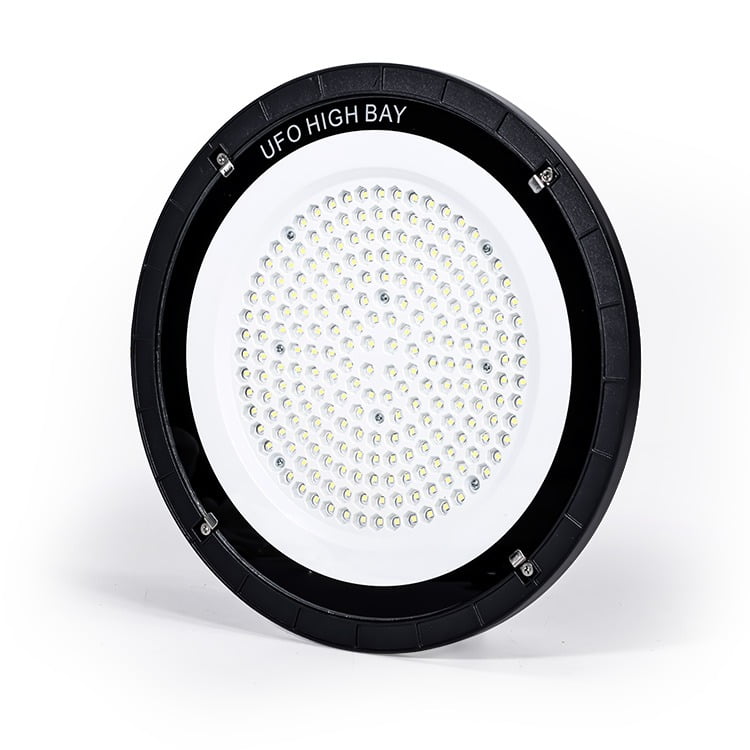
Meanwhile, high-bay fixtures commonly feature around 90°, ideal for warehouses or gymnasiums, and LED panels can extend to 120°, flooding open-plan offices or commercial spaces with wide illumination.
Real-World Applications
From stage lighting—where a narrow spotlight can track a performer—to residential downlighting—where a medium beam angle creates comfortable, even illumination—a fixture’s angle directly affects the mood and functionality of your space.
Evaluating whether a fixture’s beam angle is right for your project often comes down to how much coverage you need versus how bright you want the lit area to be.
Tools, Disclaimers, and Best Practices
Calculating beam angles can be done with simple trigonometry or an online beam angle calculator. Still, remember that real-world conditions—like wall color, reflectance, or fixture tilt—may shift theoretical results.

It’s wise to read manufacturer data alongside your calculations because each fixture can perform a bit differently in practice.
Disclaimers and Accuracy
When using calculators or software, pay attention to any disclaimer provided. These tools assume ideal conditions that might not match every install situation. Factors such as dust, lens degradation, or ambient lighting can also influence results.
By staying aware of these variables, you’ll set more realistic expectations and achieve better outcomes in your lighting projects.
Conclusion & Next Steps
We’ve explored what beam angles are, how to calculate them for both straightforward and angled setups, and why lumens, lux, and layout planning all factor into achieving the right illumination.
Now that you have the basics under your belt, go ahead and test out various fixtures in real life—or consult a lighting professional for large or complex installations.

There’s always more to learn when it comes to lighting design, especially when you dive deeper into lumen output, advanced photometric charts, and specialized applications like theatrical or architectural lighting.
Whether you’re a DIY enthusiast or a professional, refining your approach to beam angles is a smart way to ensure your projects look brilliant and function exactly as you need.
Share your lighting needs or experiences in the comments—we’d love to help you find the perfect solution!
![led design ideas - 17 LED Design Ideas to Transform Your Home [February 2025] - Vorlane](https://vorlane.com/wp-content/uploads/2025/01/led-design-ideas.webp "led design ideas - 17 LED Design Ideas to Transform Your Home [February 2025] - Vorlane")
![outdoor lighting ideas - 20 Brilliant Outdoor Lighting Ideas: Transform Yard [2025] - Vorlane](https://vorlane.com/wp-content/uploads/2025/02/outdoor-lighting-ideas.jpg "outdoor lighting ideas - 20 Brilliant Outdoor Lighting Ideas: Transform Yard [2025] - Vorlane")
![disadvantages of led lights - Disadvantages of LED Lighting: Reveal Cost, Real Risk [2025] - Vorlane](https://vorlane.com/wp-content/uploads/2025/01/disadvantages-of-led-lights.webp "disadvantages of led lights - Disadvantages of LED Lighting: Reveal Cost, Real Risk [2025] - Vorlane")
![Best LED Lights for Home - Best LED Lights for Home: Top Choices [2025] - Vorlane](https://vorlane.com/wp-content/uploads/2025/01/Best-LED-Lights-for-Home.webp "Best LED Lights for Home - Best LED Lights for Home: Top Choices [2025] - Vorlane")
![beam angle calculator - Beam Angle Calculator – Simplify Lighting Calculations [2025] - Vorlane](https://vorlane.com/wp-content/uploads/2025/01/beam-angle-calculator.webp "beam angle calculator - Beam Angle Calculator – Simplify Lighting Calculations [2025] - Vorlane")
![COB Light vs Panel Light - COB Light vs Panel Light: Understanding the Differences [2025 ] - Vorlane](https://vorlane.com/wp-content/uploads/2025/01/COB-Light-vs-Panel-Light.jpg "COB Light vs Panel Light - COB Light vs Panel Light: Understanding the Differences [2025 ] - Vorlane")